
In this tutorial, we will walk you through on how to invite and manage members of your website through the "Users" Tab on Easy Sites.
Before We Start
Please start by navigating to the website you wish to edit by logging onto Easysites. If you have forgotten your log in details, you can reset them by following our Forgotten Passwords tutorial or simply get in touch and we can help.
Users Tab
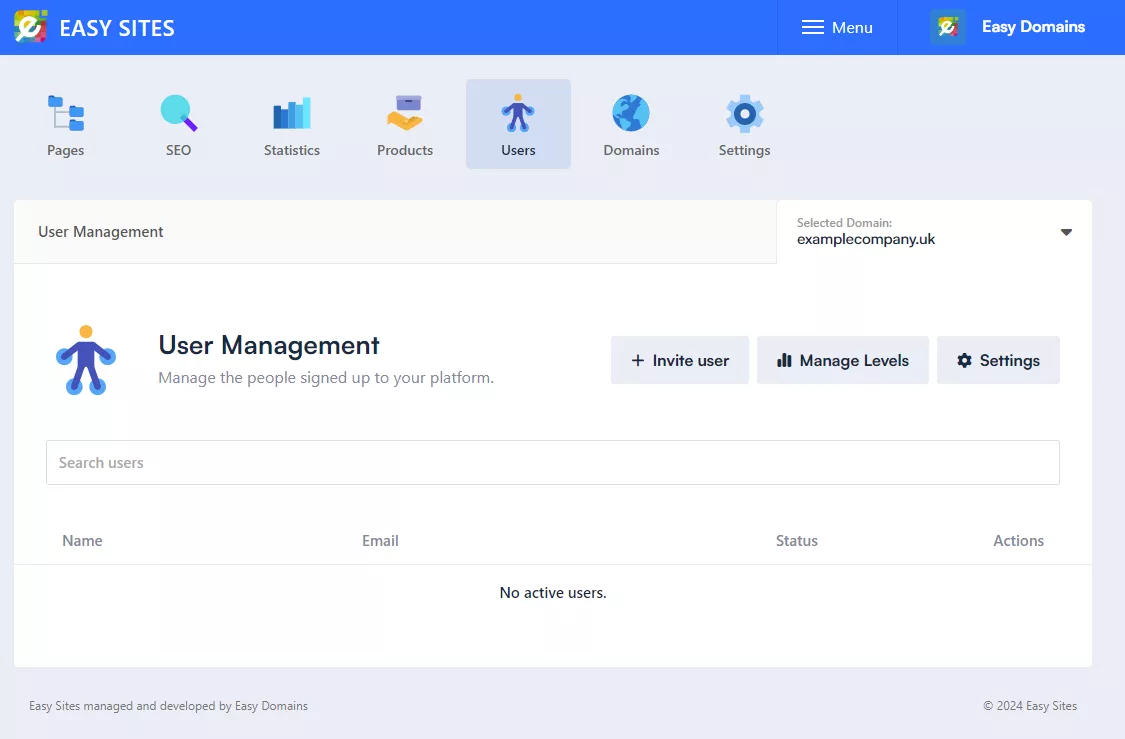
Once you have logged in, select the "Users" Tab. Once there, you will find everything you need to get started. If you haven't invited anybody yet, your screen will look like this:
Before we begin to invite new members, let's first go over the User Management Settings.
User Settings
To set the rules for signing up to become a member of your website, click on the "Settings" button located to the right of the "+ Invite user" button. Here you will be greeted with the following options:
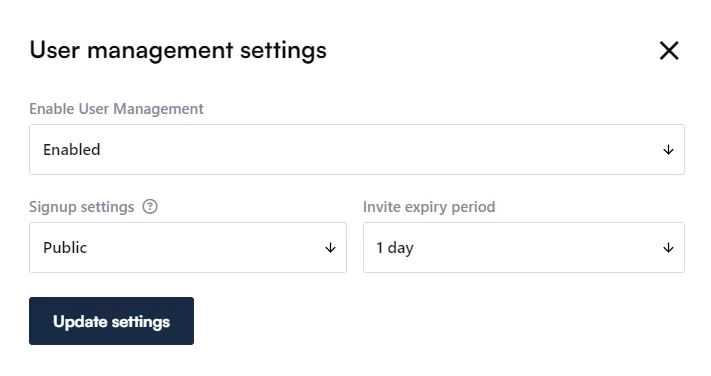
Once you have enabled user management to allow users to become members of your site, set your signup settings accordingly. The options are as follows:
- Disabled - You currently don't accept any signups, even those you attempt to invite will not send.
- Invite Only - Only people you invite can sign up.
- Public - Anyone can sign up and use the services that requires signing up.
After that you'll want to set an invitation expiry period. Naturally, users will not be able to complete their registration after the invitation link has expired, so keep this in mind when you set it. It can always be changed again after if required.
Once everything has been selected, click "Update settings" to save.
User Levels
Now you'll need to set different user levels to invite members as.
To set up different access levels, start by clicking the "Manage Levels" button, followed by "Add Levels", and enter a level name.
This could be anything you like, but we would recommend keeping it simple, for example "Bronze", "Silver", "Gold" and "Platinum" to coincide with your membership levels.
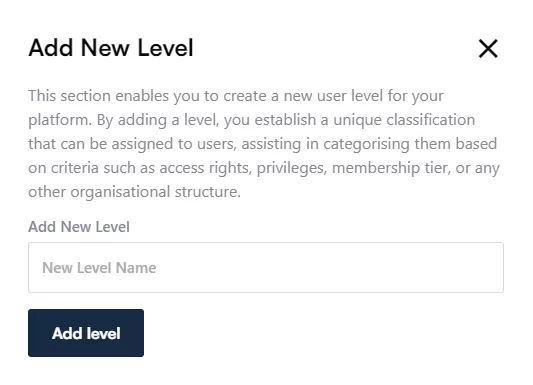
You can always come back and add, edit or delete different levels later if required.
Page Privacy
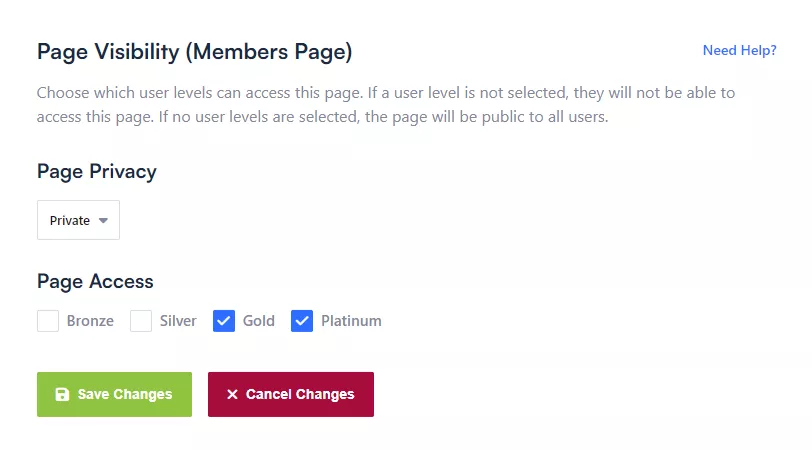
Once you have set different user/access levels, you can toggle which user levels can see certain pages throughout your website.
Simply head back to your Website Pages, click the lock of the page to edit it's visibility to different user levels and toggle the relevant boxes.

Now we have enabled users, set different access levels, and edited page privacy, we can begin to invite users to become members of your site.
Inviting Users
To invite users, click on the "+ Invite user" button. You will be greeted with the following popup:
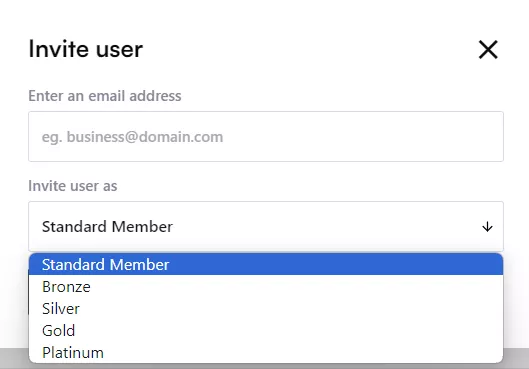
Enter the email address of the user you wish to invite, and select their user level.
Accepting Invitations
Once you have sent out invitations to join, your soon-to-be "Members" will receive an email with a link to complete their registration. Once opened it'll present this screen:
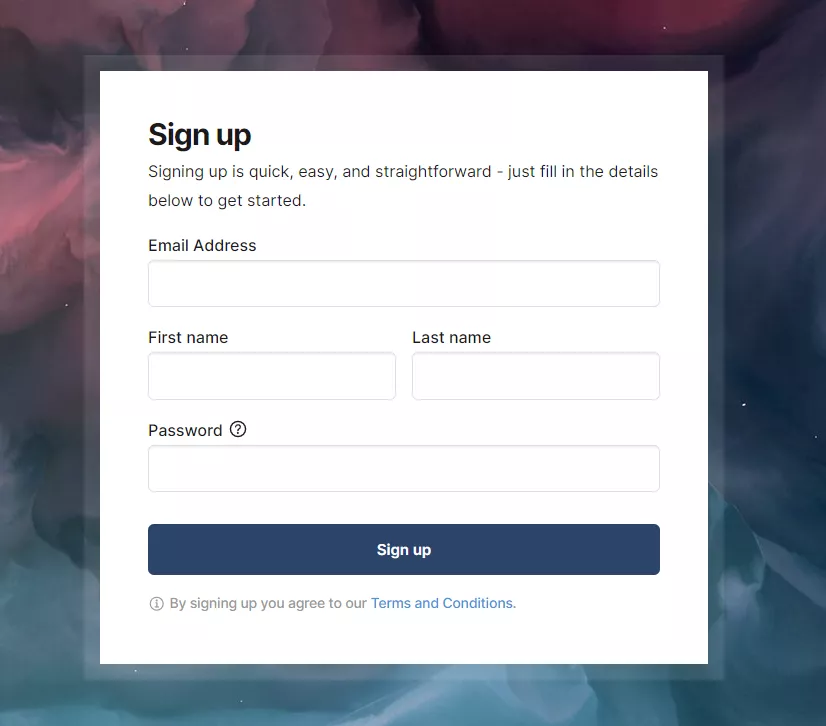
If invited, the email address field should automatically be filled in, if not, users will just need to re-enter the email address that was initially invited.
Then the users will need to fill out the rest of the form to complete signing up.
Managing Users
Once a user has completed signing up, they will be displayed in the "Users" Tab like so:

Here, you will be able to readjust sign up settings, user levels, invite more users, edit displayed user information and deactivate user accounts and more.
And that's it!
Need Help?
If you have any difficulties following this tutorial, or if you have any questions, please let us know and we will be more than happy to help.