
In this guide, we will walk you through how to add your Google Ads Tag to all pages of your website.
Before You Begin!
You will need your Google Ads Tag (gtag.js) ready.
This can be found and subsequently configured from your; Google Ads, Google Analytics, and Campaign Manager accounts, depending on the service you require.
Logging In
First, please log into your Easy Sites account and select the website you'd like to add the Google Ads Tag to.
If you are having trouble logging in, please simply get in touch
Once logged in, head to the Website Settings of your Easy Sites control panel by selecting the "Settings" cog icon from the top of your dashboard.
Adding Your Google Ads Tag
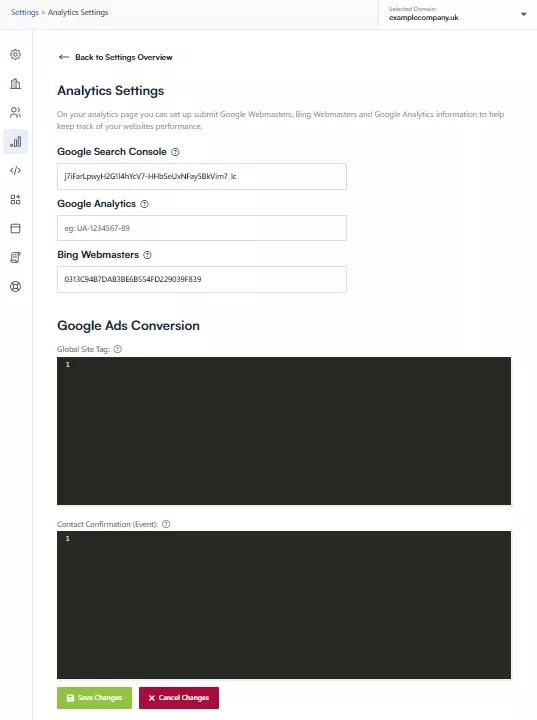
From the Website Settings page, please select "Analytics Settings" from the main dashboard or the Quick Manage menu on the left.
You will then be presented with a black box with the main heading of "Google Ads Conversion" and the subheading of "Global Site Tag"; please paste the Google Ads Tag into this black box and then press the green "Save Changes" button at the bottom of the page.
Saving The Google Ads Tag
After pressing Save Changes at the bottom of the page, you will see a success message to the top right of the screen informing you that your changes have been saved.
You will now be able to view data on conversions for your campaigns, ad groups, ads and keywords from within your Google Ads Account.
And you're done!
Need Help?
If you have any problems following this guide or wish to speak to us about setting up Google Search Console, please contact our team here.