
In this guide, we will walk you through how you can add your Easy Domains website to Google Search Console so you can use it to monitor your current search rankings.
Before You Begin!
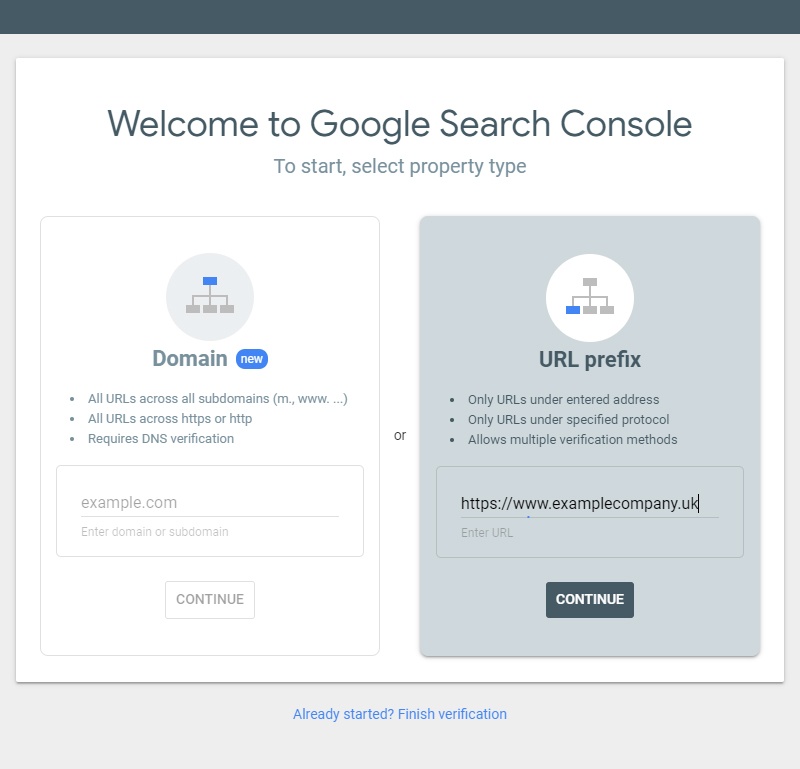
You will first need to create a Google Search Console account and set up your dashboard; to do this, please visit their page here and select URL Prefix, and type in your URL, including any prefixes such as "http://" or "https://", and the "www.".
Verification ID
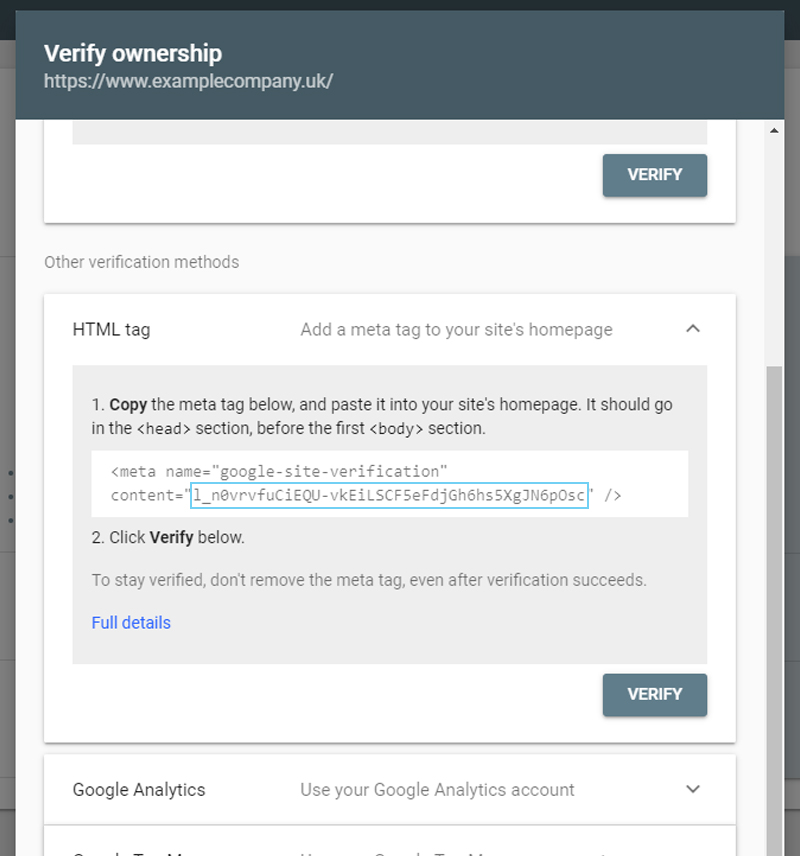
On the following screen, please expand the option titled "HTML Tag" to reveal this snippet of code. Please copy this part of the snippet, if required, please temporarily paste it in a separate document or keep this tab open as we will need it at a later stage.
Logging In
Now, please head to the Website Settings of your Easy Sites control panel by selecting the cog icon from your dashboard. You can reach this page by logging in to your Easy Sites account and choosing the website you'd like to edit. If you are having trouble logging in, please simply get in touch
Adding Verification ID
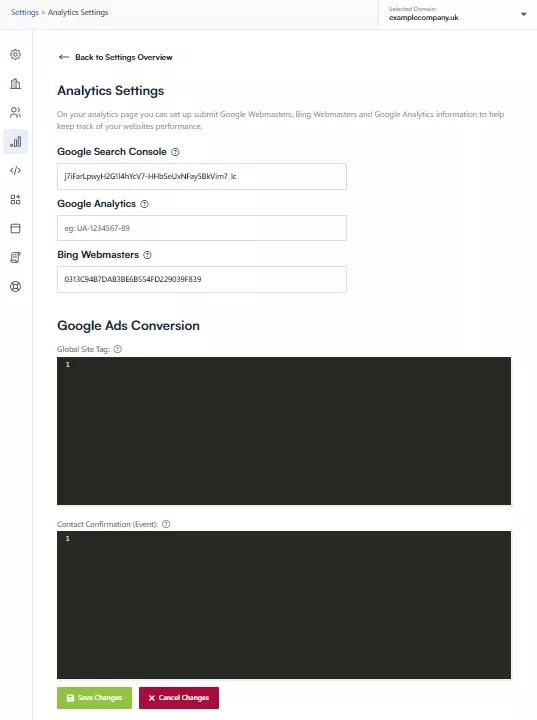
From the Website Settings page, please select Analytics Settings from the main dashboard or the Quick Manage menu on the left. You will be presented with a field titled "Google Search Console"; please paste the aforementioned code into this field.
Saving Verification ID
After pressing Save Changes at the bottom of the page, you will see a success message to the top right of the screen informing you that your changes have been saved.
Completing Verification
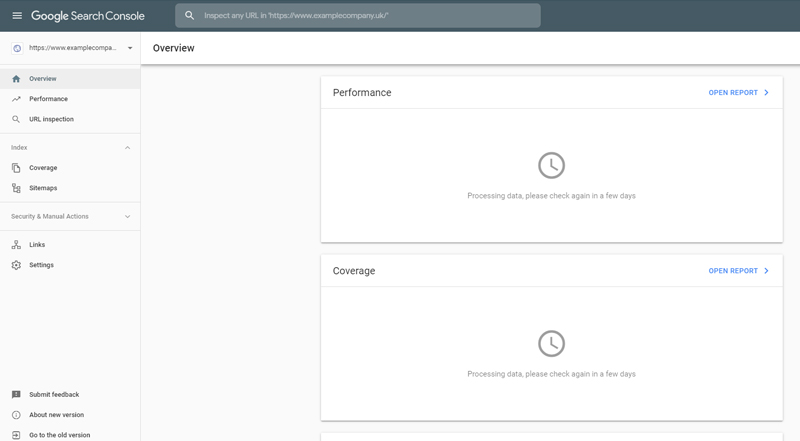
You can now finish the verification from the Google Search Console. Please note that it can take the Search Console a few days to process the data from your site, so it’s natural to see very little in the Search Console at this stage.
And you're done!
Need Help?
If you have any problems following this guide or wish to speak to us about setting up Google Search Console, please contact our team here.