

These steps are shown in Normal Mode. If you can't see these options, see Switching editor modes.
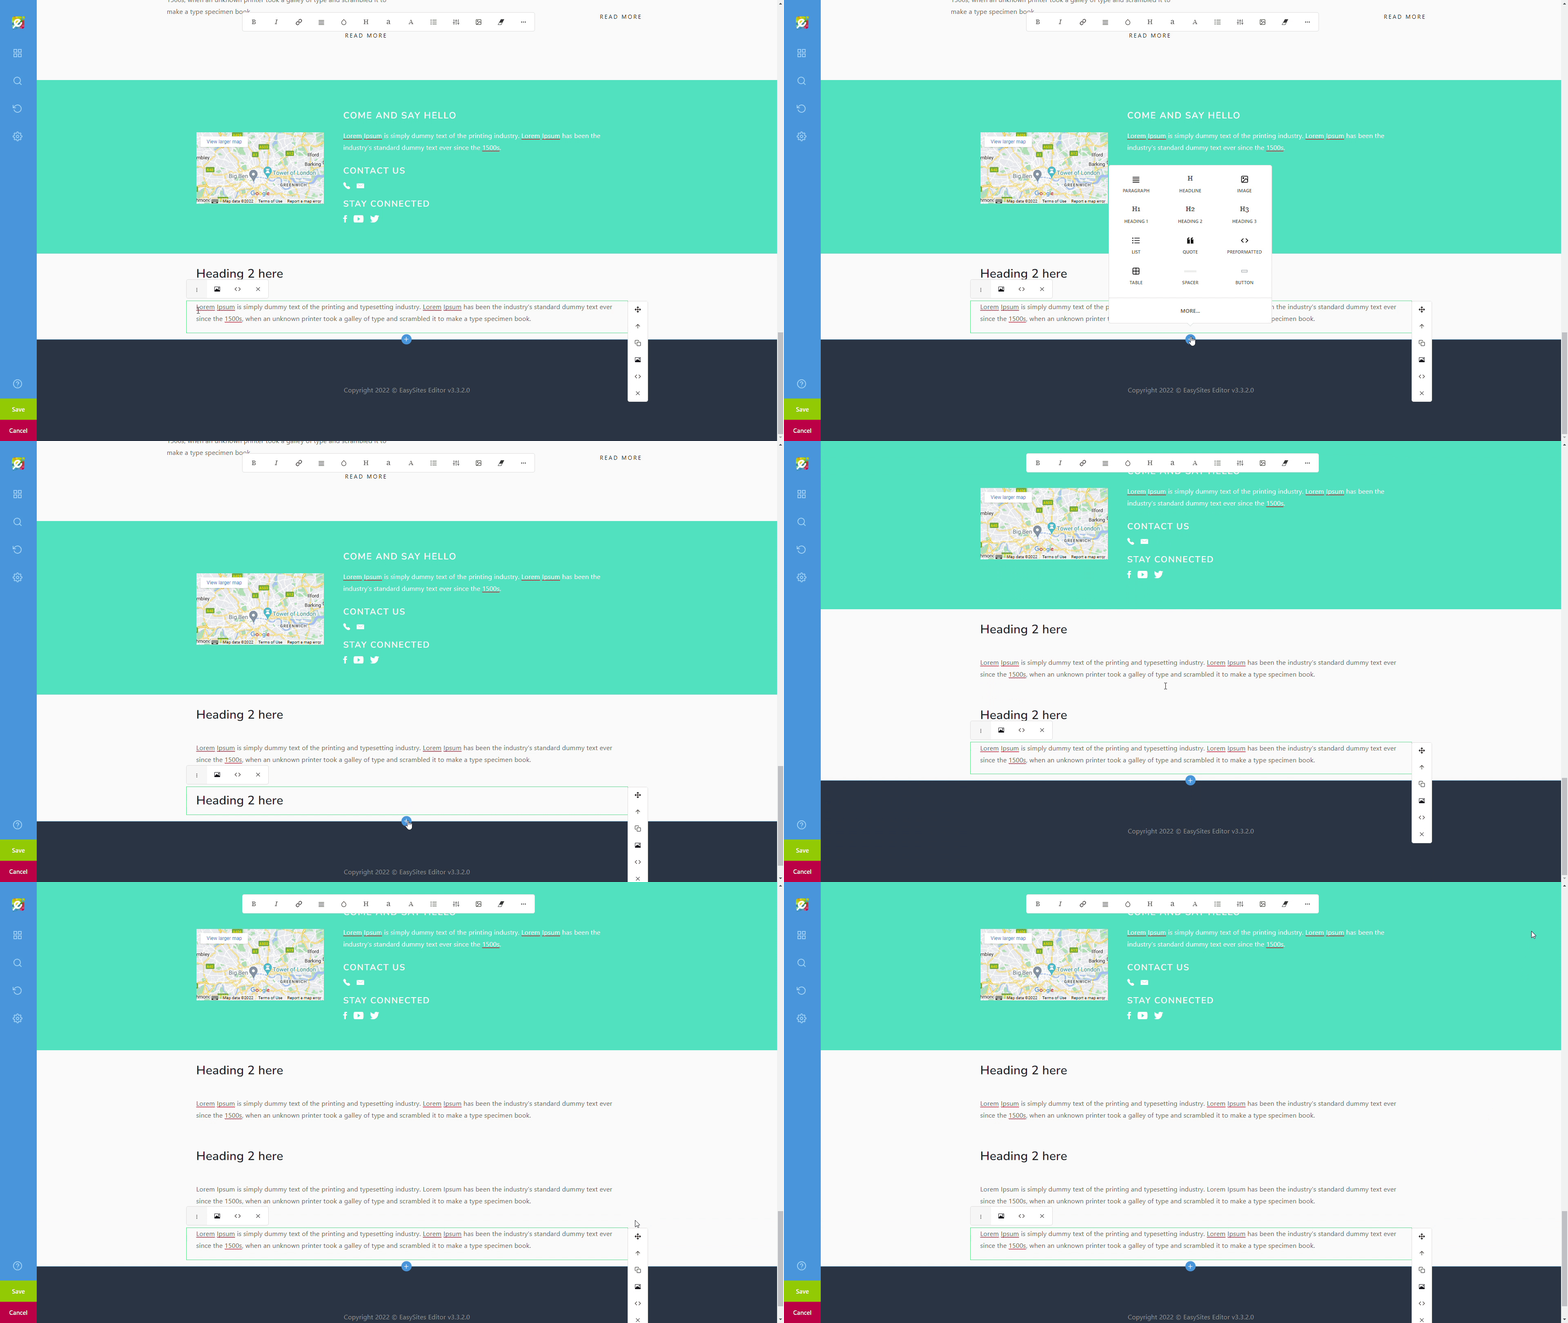
Easy Sites webpages are structured into Rows and Columns. All the content is contained within columns, which are contained within rows, which in turn make up the page. In this tutorial we will walk you through how you can add new rows to your website to expand your page and add new content.
Logging In
Start by signing in to your Easy Sites account. If you need help retrieving your login details, please contact us or follow this tutorial if you have forgotten your password.
After successfully logging in, please select "edit site" to alter any website you hold with Easy Sites.

Editing Row
There are several ways you can add a new row to existing content. One of those ways is to explore the Content Section and choose a layout block. As this has been covered in this tutorial here, we will not explain this option.
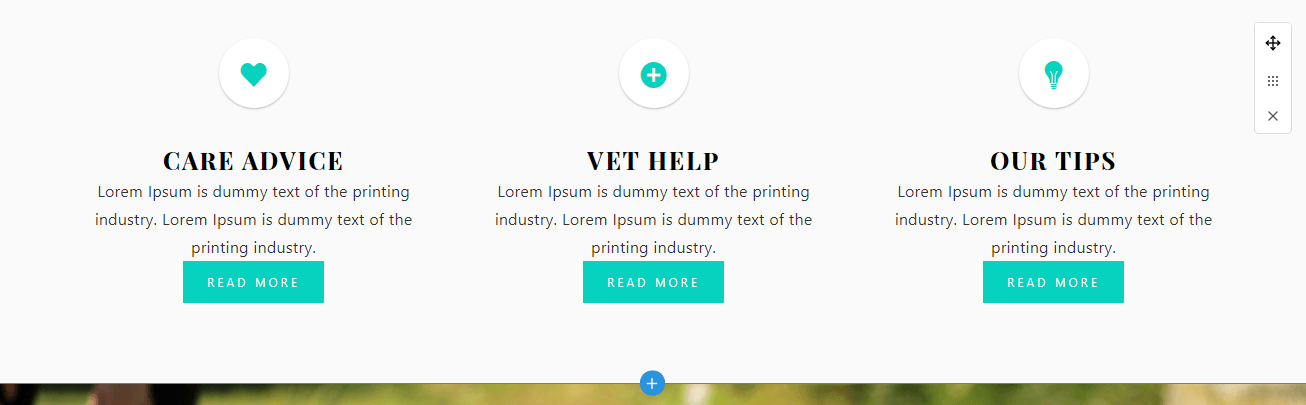
The first alternative method is to use the blue “+” option at the bottom of your current active row:
Quick Menu
Clicking on this will bring up a pop-up menu with a number of elements:
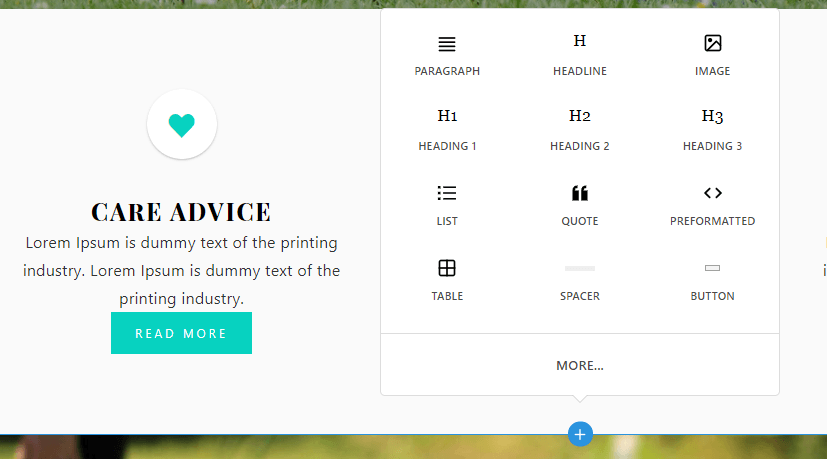
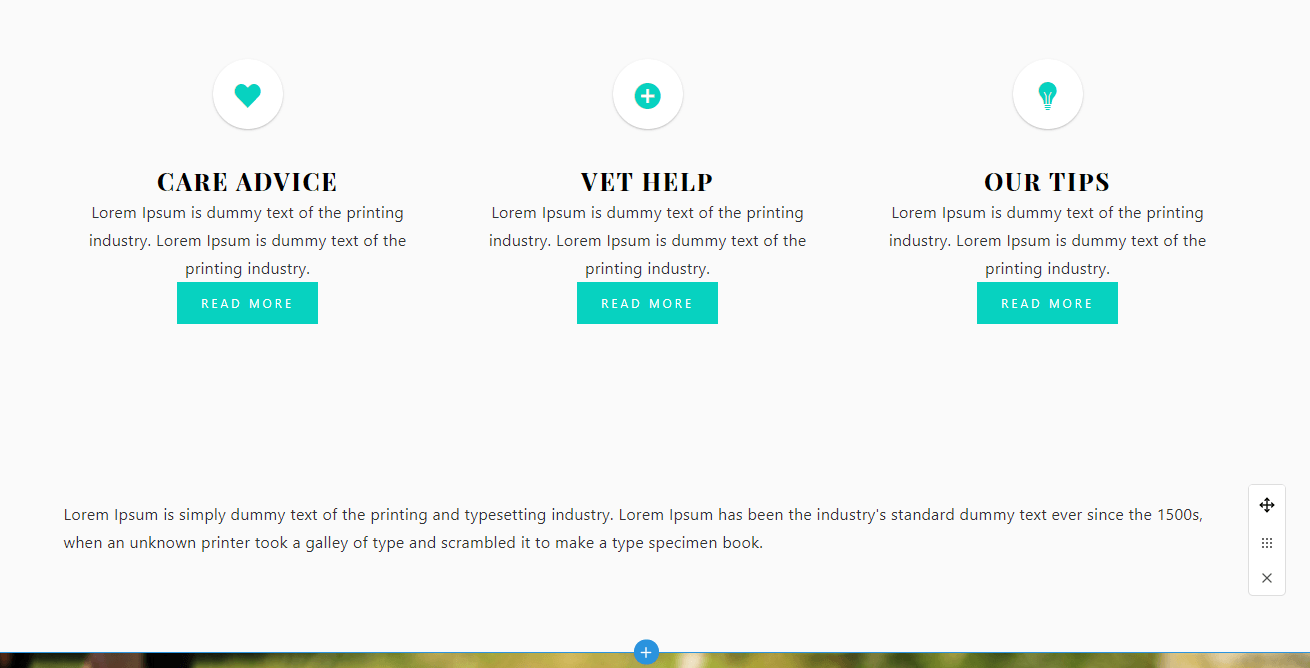
To add this element in a new row, all you have to do is click on it. In this example, I have chosen to add a new paragraph:
Grid Toolbar
The other method is to use the Grid toolbar, which is accessible by toggling the grid icon on the vertical toolbar.
You can bring up the same pop-up menu by clicking on the “+” icon under the Row heading:
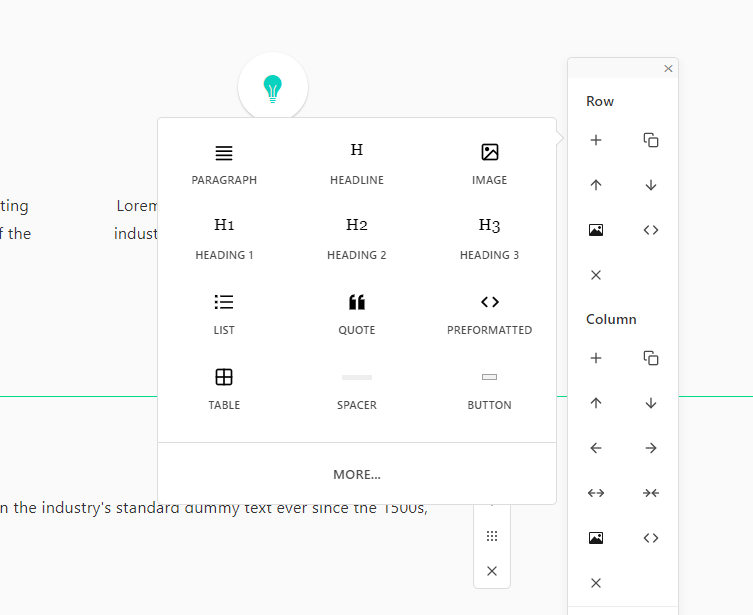
Alternatively, you can also duplicate an existing row by clicking on the “Duplicate” icon, symbolised by the two overlapping squares.
Need Help?
If you encountered any issues following this tutorial, or if you want to discuss the layout and design of your website in more detail, please simply get in touch by raising a support ticket.