
Content within your Easy Domains website are contained in 2 main blocks: Rows and Columns. For more information on Rows and how to add them, please visit our tutorial here.
When a new row is created (unless it was created by selecting a content block), by default it will be occupied by a full width column. In this tutorial we will walk you through how you can add new columns and break up the layout.
Logging In
Start by signing in to your Easy Sites account. If you have need help retrieving your log in details, please contact us or follow this tutorial if you have Forgotten your Password.
After successfully logging in, please select "edit site" to alter any website you hold with Easy Domains.

Select Row
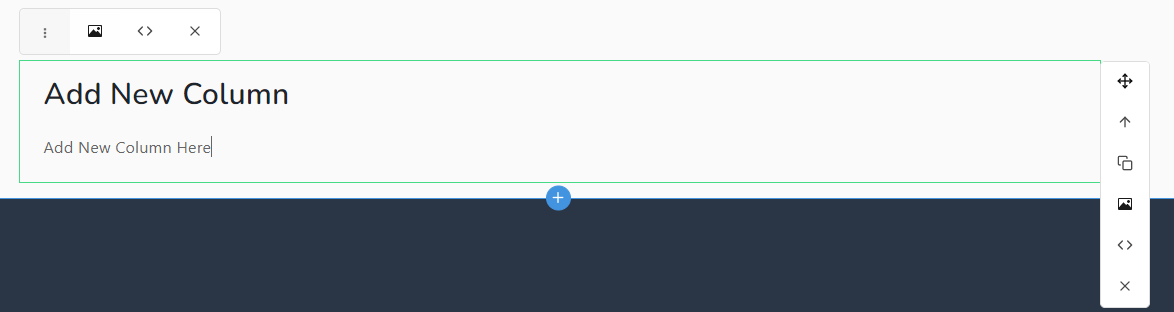
Start by identifying the row you would like to edit.
Select the row to display the editor toolbars around the row
Quick Menu
To add a new column to the row, you can hover over the “+” sign to bring up a quick menu:
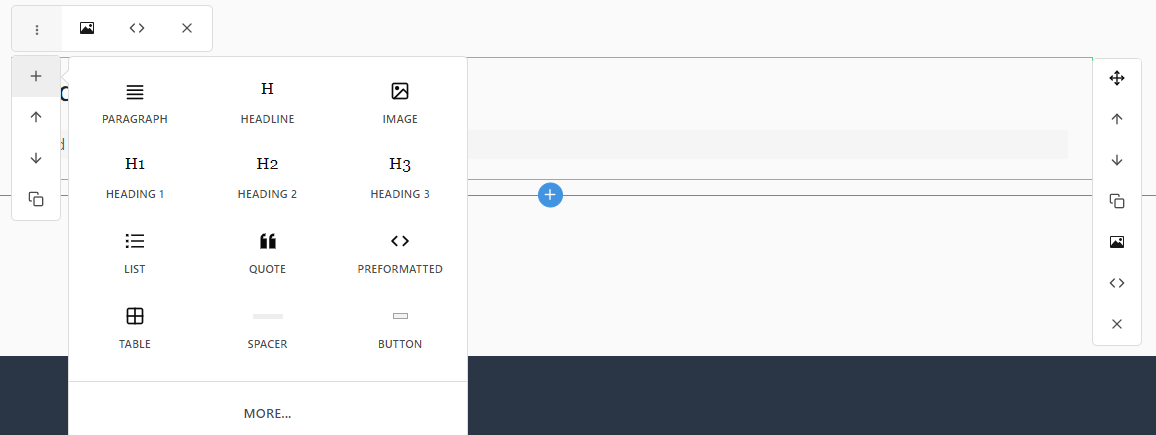
Adding New Column
To add that element, please simply click on the icon. In this example, I have chosen to add an image:
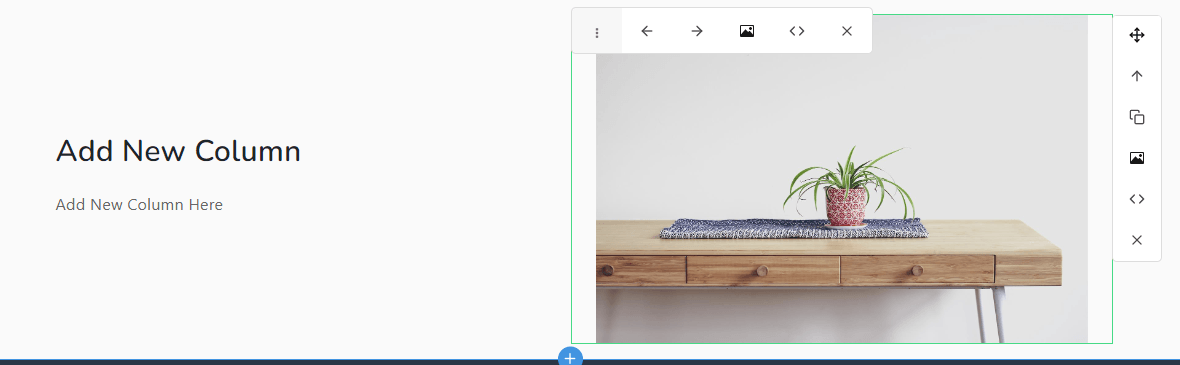
As you can see, the additional of a new column means that they have been both reduced to half width. You can have up to 4 columns on a row, and they will always be equal width. The exception is if you edit the HTML, though we would recommend against doing this unless you have HTML knowledge.
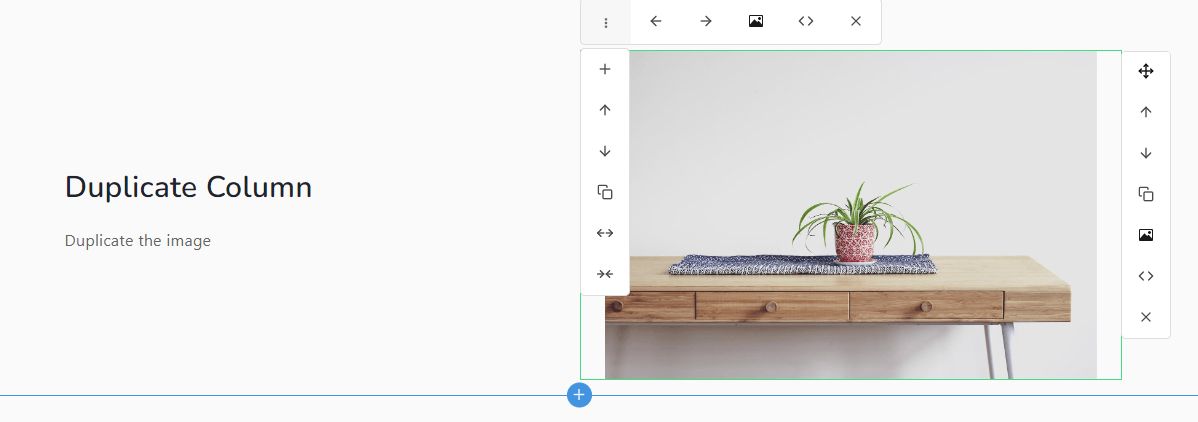
Duplicating Column
You can also add a new column by duplicating an existing column. Simply select the column you’d like to copy, then click on the “Duplicate” button on the editor toolbar, which is the icon with 2 overlapping squares:
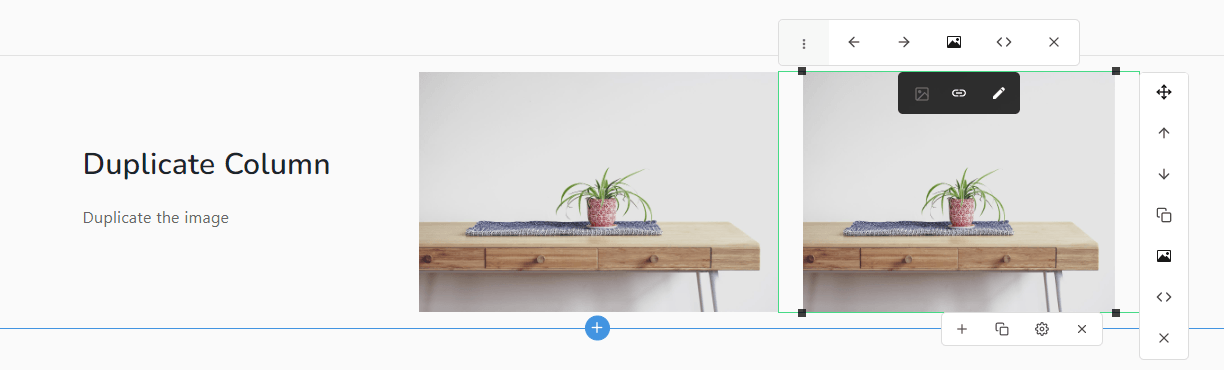
As you can see, this has duplicated the photo I have selected, and the columns are now equal thirds.
Need Help?
If you have any questions about using rows and columns, or had any difficulties following this tutorial, please don't hesitate to raise a support ticket and we will be in touch to answer your query.