
Custom enquiry forms are useful additions to a website; they offer a convenient option for potential customers to make a detailed enquiry. In this tutorial we will show you how you can add one to your website.
Before We Start
Please start by navigating to the website you wish to edit by logging onto Easysites. If you have forgotten your log in details, you can reset them by following our Forgotten Passwords tutorial or simply get in touch and we can help.
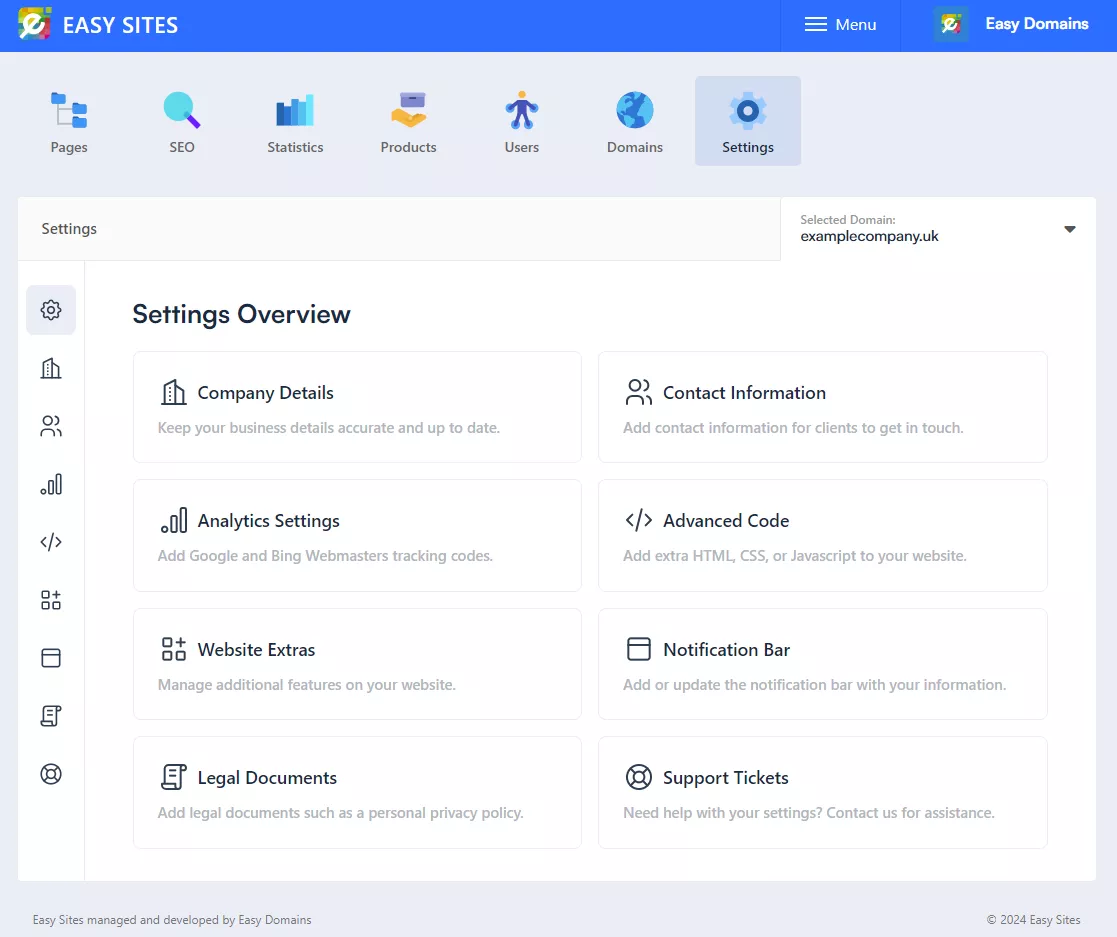
Website Extras
Once you have selected the website you wish to add a custom enquiry form to, head over to the "Settings" tab, represented by the cog icon, followed by "Website Extras" from the main dashboard or the menu on the left.
Next, click "Form Builder", followed by "Create new form" and enter a title for the form so you know which one to use and edit later if needed.
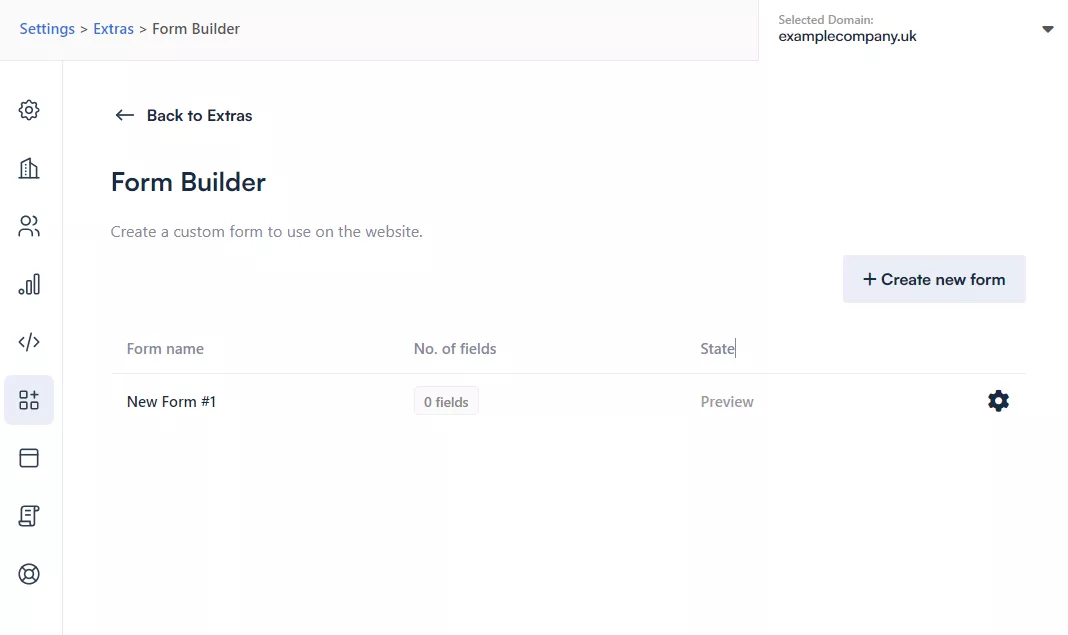
Form Builder
To edit your custom enquiry form, simply click the cog icon on the right hand side to begin. You will then be greeted with options to edit your custom enquiry form.
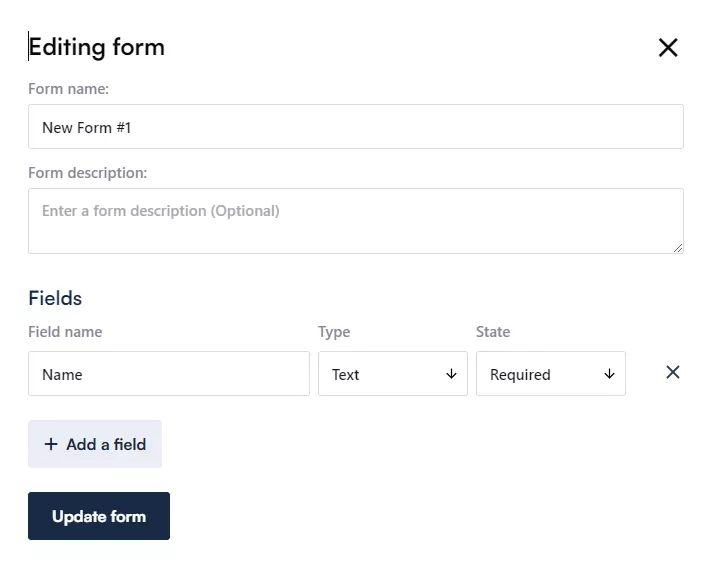
Simply input any information you need to receive custom, detailed enquiries from your form.
Understanding Form Fields
In order to know exactly what you need from your custom enquiry form, here is a list of the settings you can use.
Form Name: Set a name for your custom form (this won't be displayed publicly).
Form Description: Set a description for your custom form (this is optional and won't be displayed publicly).
Field Name: Set a field name to direct users to input required information.
State: Set whether information in a field is required to submit the enquiry, or optional.
Types: The type of field used to submit information (see image below for examples).
- Checkbox Type: Allow users to check multiple listed options.
- Color Type: Allow users to set a color.
- Date Type: Allow users to set a date.
- Datetime-local Type: Allow users to set a date and time.
- Email Type: Allow users to input an email address.
- Month Type: Allow users to set a month and year.
- Number Type: Allow users to input a number.
- Password Type: Allow users to input a password.
- Radio Type: Allow users to select one of the listed options.
- Range Type: Allow users to input information using a slider.
- Select Type: Allow users to select an option from a list.
- Tel Type: Allow users to input a phone number.
- Text Type: Allow users to type in the field.
- Time Type: Allow users to set a time.
- Url Type: Allow users to input a URL (link to somewhere).
- Week Type: Allow users to set a week and year.
- Textarea Type: Allow users to type in the field.
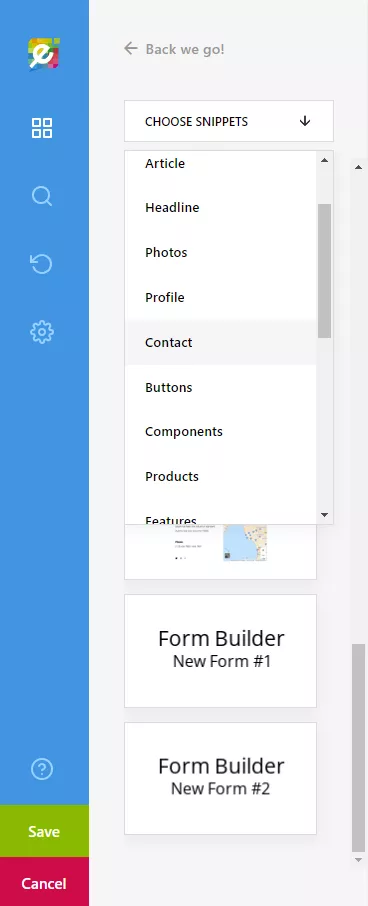
Adding Contact Form
Now that we understand how to create a custom enquiry form, we now need to place it somewhere on your website for potential customers to use. To do so, simply enter the page editor of the page you wish to add the form to and click "Content" section.
You can follow our tutorials on "How To Edit A Page" and "How To Add A Block On The Content Section" if you get stuck.
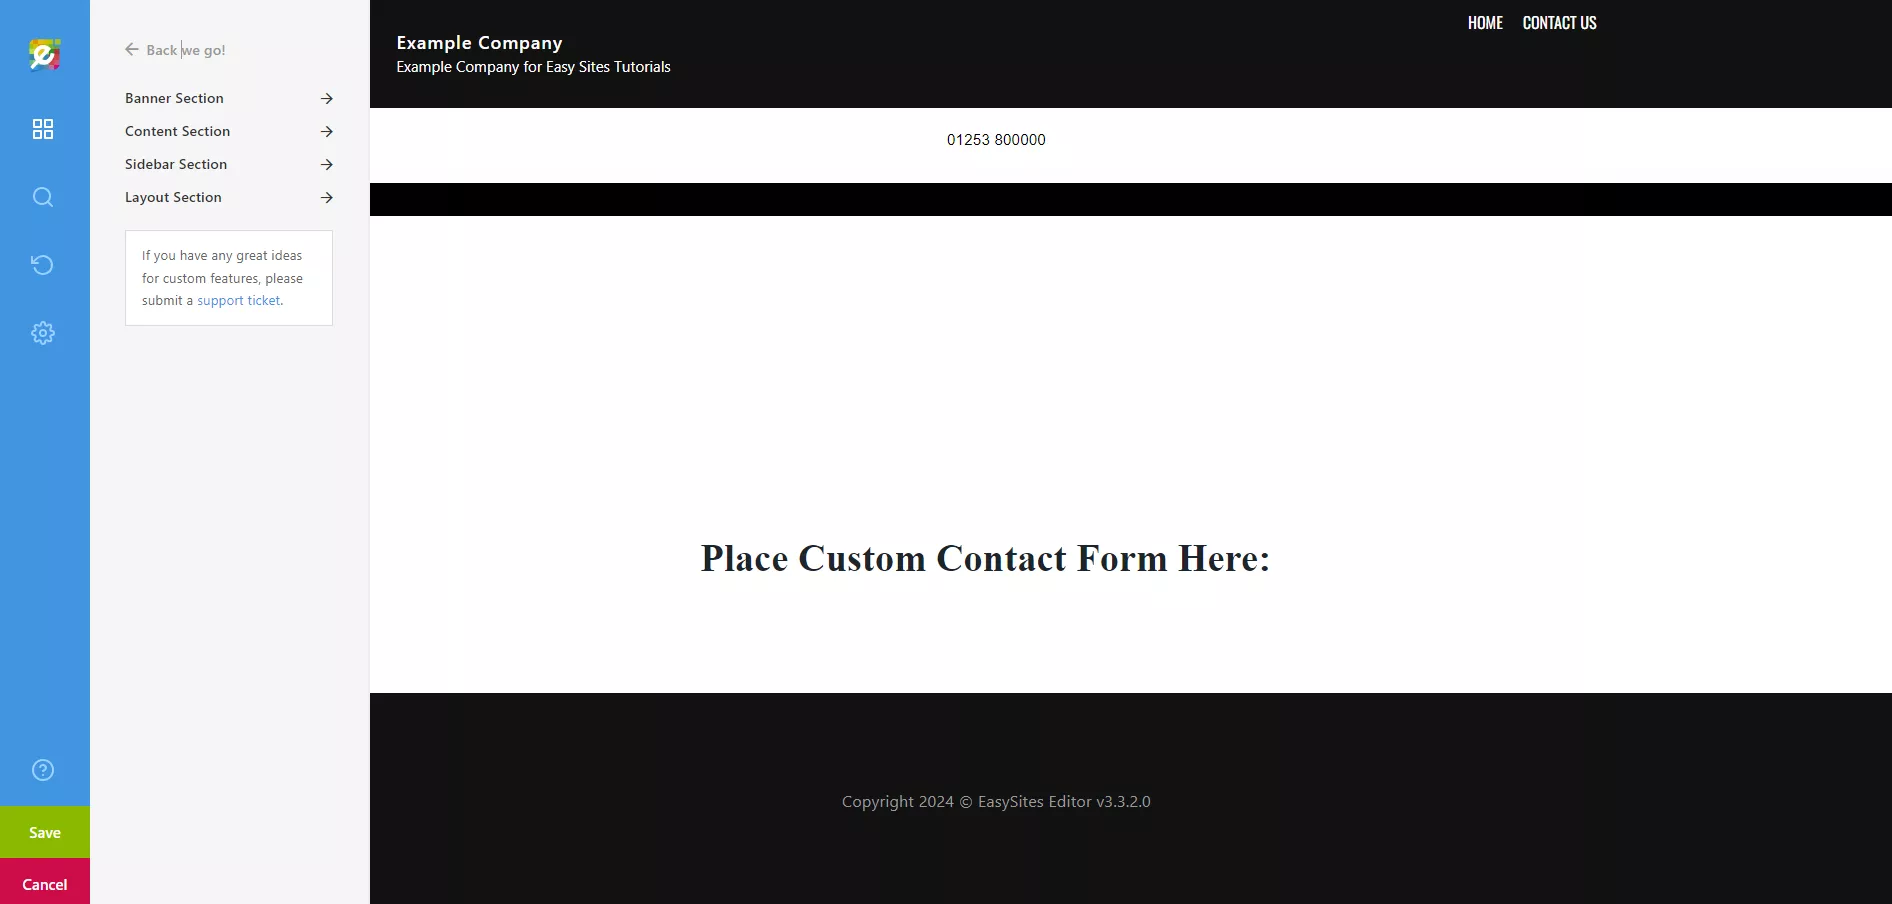
Followed by the "CHOOSE SNIPPETS" dropdown, then "Contact" and select your custom enquiry form from the options below:
In the following example, I have used every field type to show how it would look on your live website:
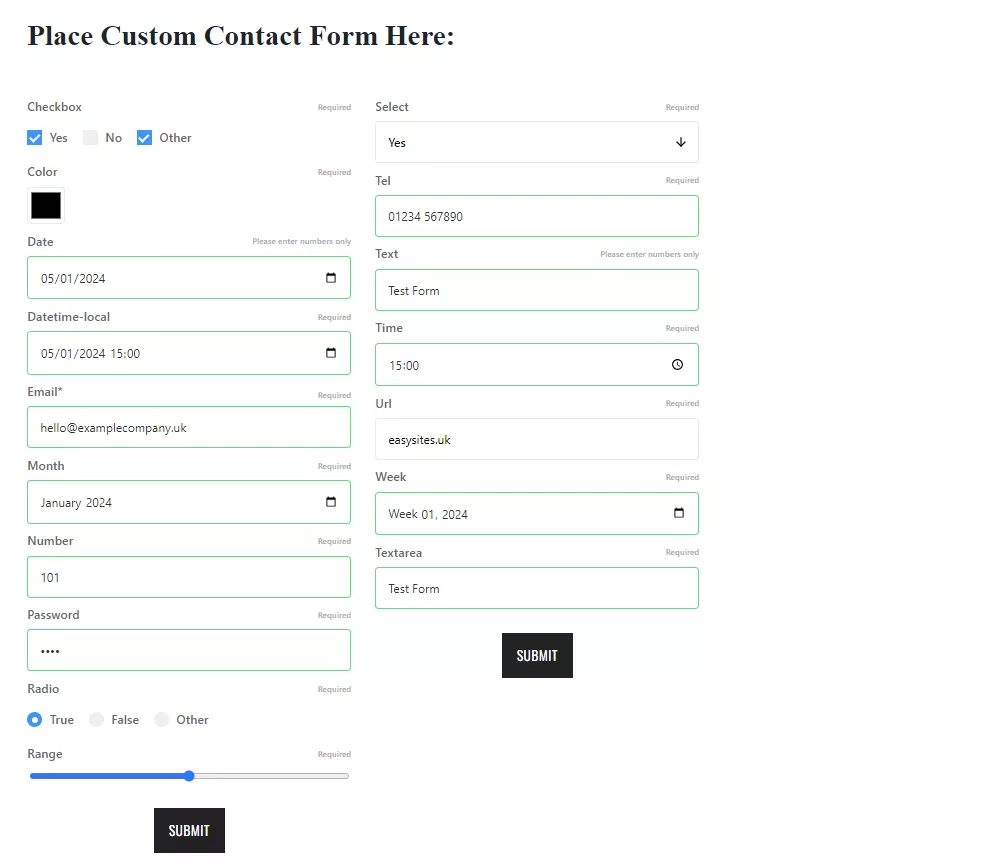
Please note that you won’t be able to see the “Submit Form” button from within the Editor - this is normal, it will be visible on the live page.
And that's it, you now have a custom enquiry form for potential customers to use on your website.
Need Help?
If you have any difficulties following this tutorial, or if you have any questions, please let us know and we will be more than happy to help.